
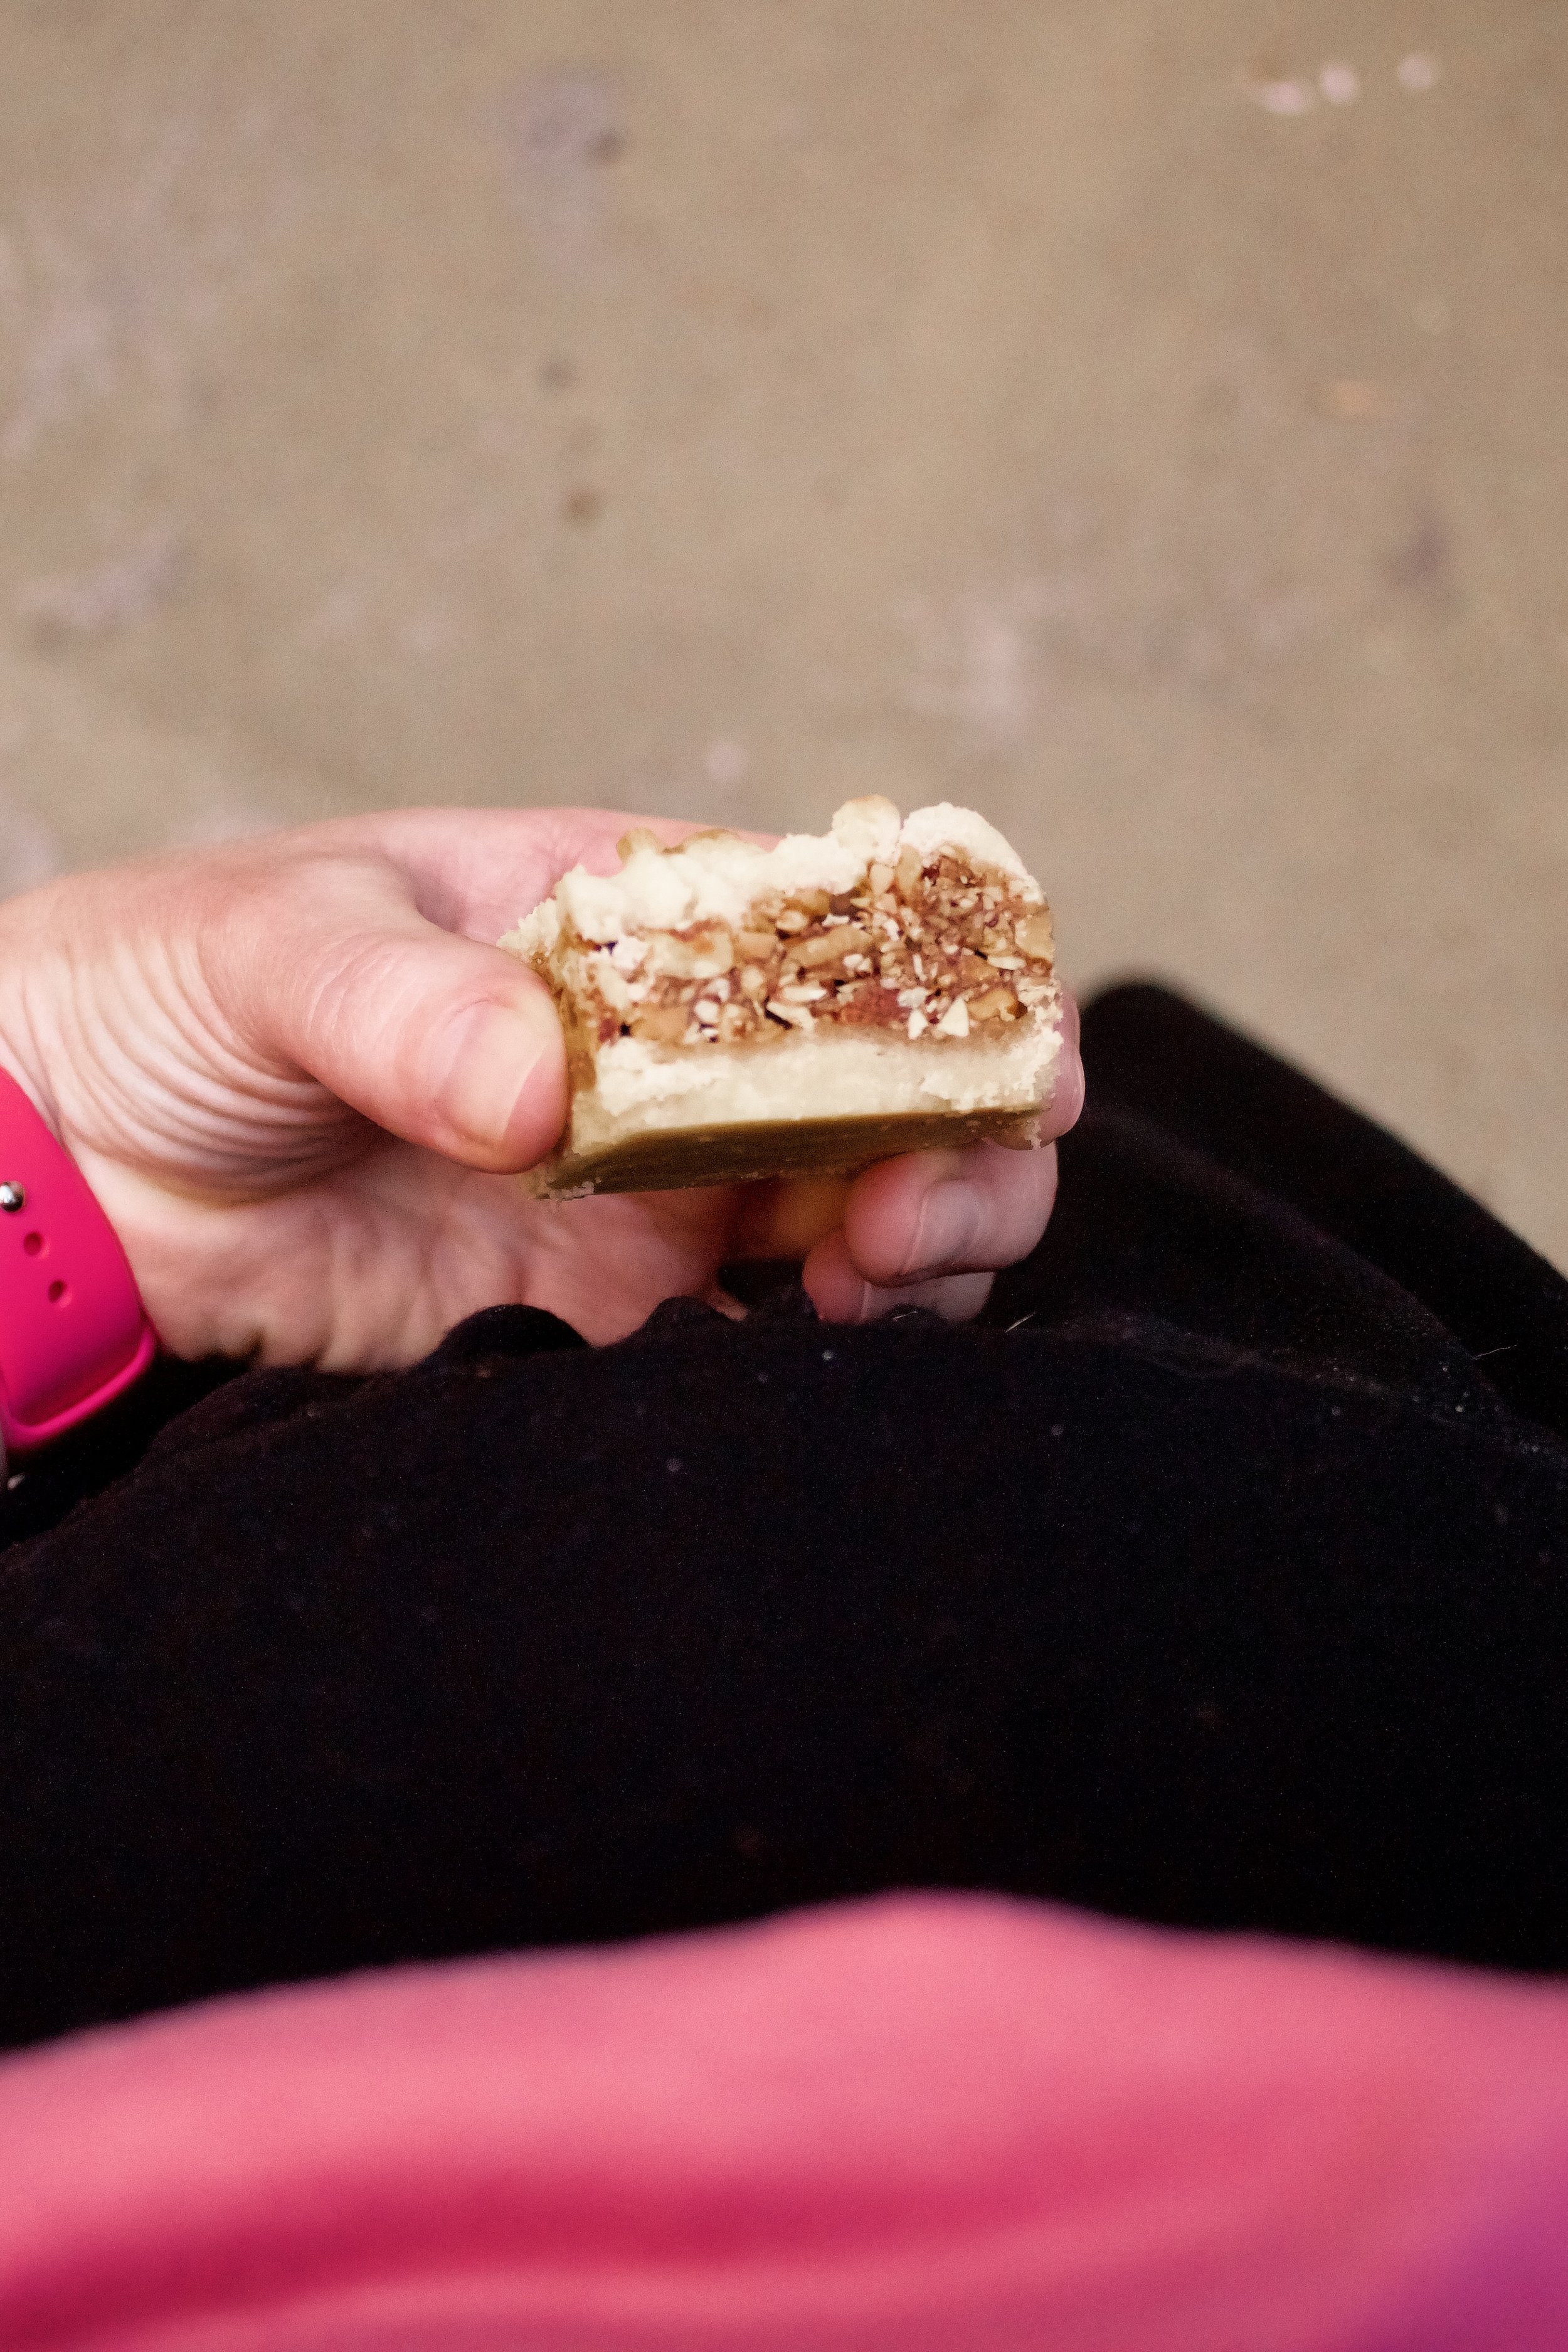
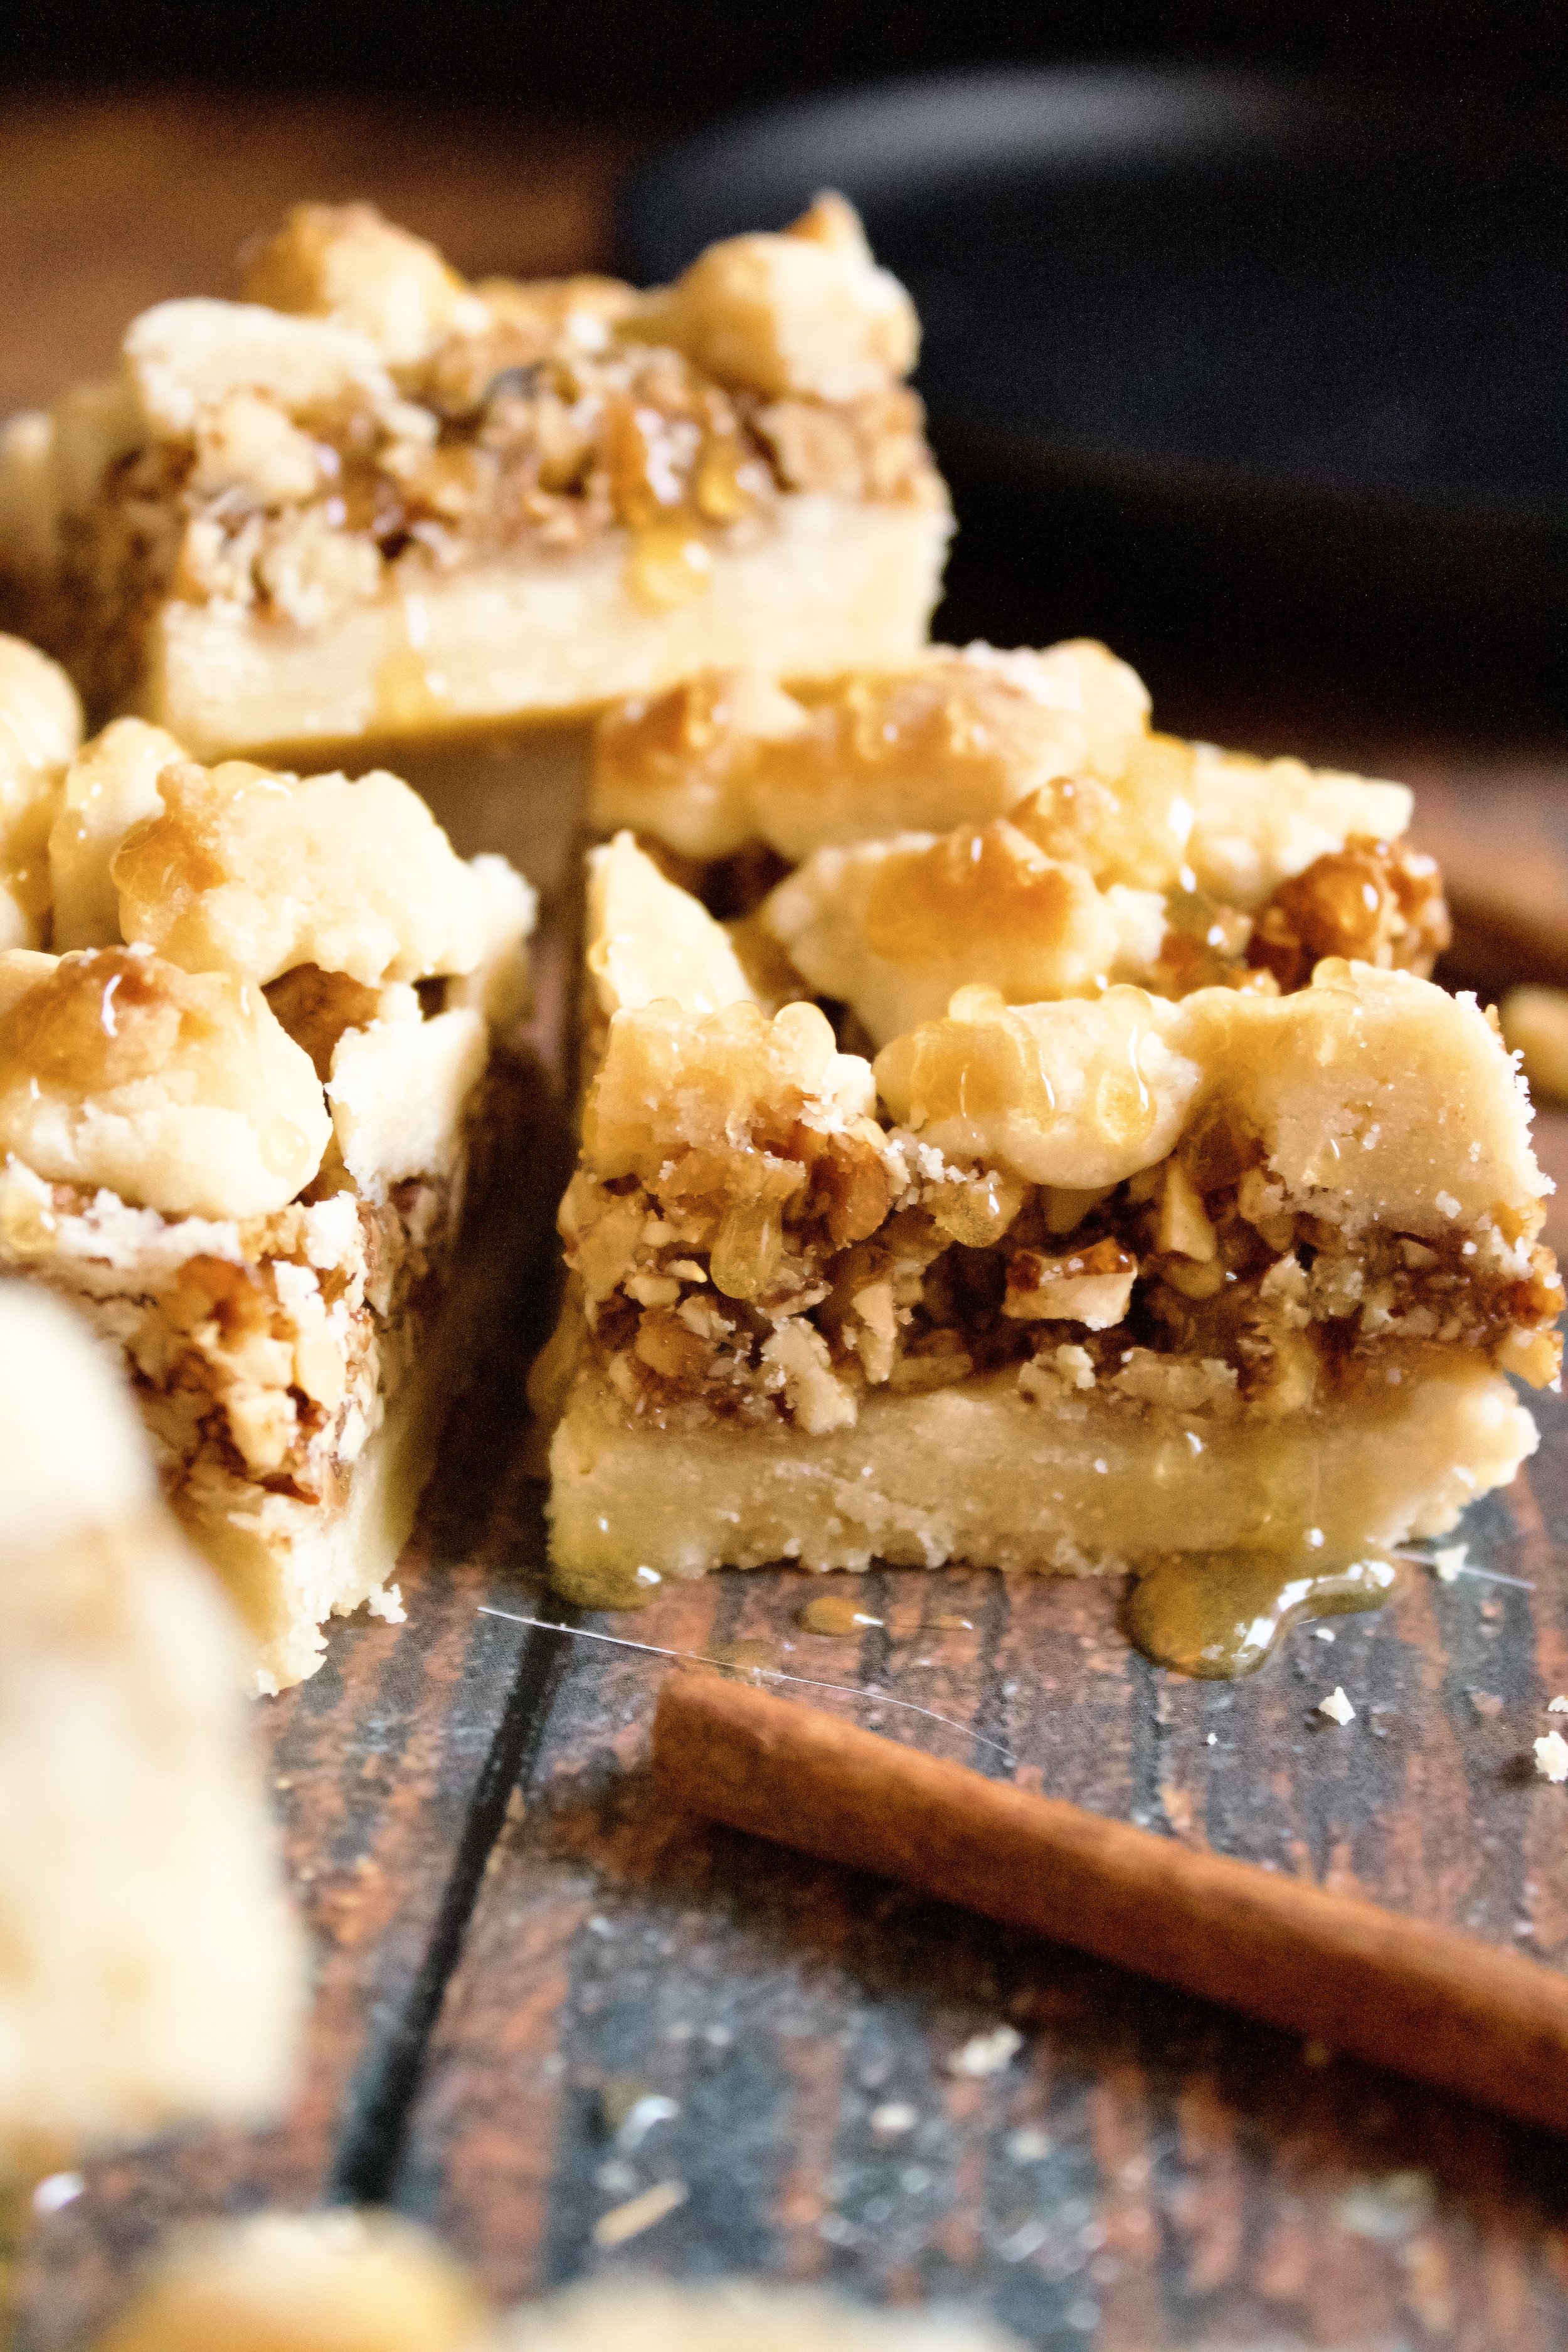
Baklava Shortbread Bars
Tender, flakey shortbread filled with the same cinnamon honey nut mixture our family uses for baklava. This is a simple way to still get that quintessential baklava flavor without the hassle of phyllo dough!
This post may contain affiliate links from which, at no additional cost to you, I may earn a small commission to keep this site running. Only products I myself would or do use are recommended.

I can’t believe Brooklyn was the size of a walnut almost a year ago! For reference, check out this post for how big she is now!
I made these baklava bars in honor of Greek Easter. And while I loooove regular baklava, it’s a TON of work. You have to meticulously work with the phyllo: it dries out very quickly and must be kept under a layer of plastic wrap topped with a damp towel, plus it tears easily, so you have to trim, transfer, and butter it with care. And then there is the tediousness of carefully brushing each layer with melted butter. And there are a lot of layers.
So I got the idea to make a baklava-inspired dessert. I still want to make a cake one day, but a year ago I was in the thick of horrendous all-day sickness (who on earth thought it was just morning???). So, I went with easy and made shortbread bars filled with baklava filling.
So easy. So yummy! They definitely hit the spot for that baklava craving.
Why this recipe works
My secret to the shortbread layer is powdered sugar. It is a very fine texture, meaning you’ll get a smooth, fluffy dough without any large sugar crystals. And while some recipes call for beating granulated sugar until nearly dissolved, I’ve found that to be 1. often impossible and 2. too much air in the dough for the delicate, crumbly cookie we want.
As well, European style butter is a game changer. It has far less water and is a MUCH creamier butter, making softer, more tender cookies. I get Kerrygold from Costco, but any European style butter will do. I often use salted butter, meaning I only add a pinch of salt. This is because I know Kerrygold and know how salty it will make my dessert. If you’re using a different brand or are unsure, try to use unsalted so you can better control the salt.
Then there was the filling. The hard part was adding enough honey to make these a little gooey without them falling apart. Since baklava is filled with a dry nut mixture then generously soaked in a honey syrup, I had to guess on how much honey to add ahead of time. I discovered it worked well to add just enough to make the nut mixture pliable then drizzle the cut bars with a bit more for good measure. The result is a sturdy bar that’s not soggy yet still has that gooey, caramelized baklava taste.

Key ingredients
Butter. As mentioned above, always use European style butter in shortbread. It’s creamier and has less water.
Confectioner’s sugar. This is the secret to the tender texture and perfect sweetness of these cookies.
Vanilla extract. Use pure vanilla extract, not imitation.
Salt. Only use a pinch or so if using salted butter.
Flour. Optionally, you can sift this before using, making the cookies even more tender and delicate.
Cinnamon. Use a fresh, high quality cinnamon, which will have a noticeably better taste.
Walnuts. You’ll need roasted walnuts, so if you only have raw, chop them then toast them and let them cool before you get started.
Almonds. You’ll also need roasted almonds, so again, if you only have raw, chop them then toast them and let them cool before you get started.
Honey. Any kind will do, but do not use honey that has crystalized. If it has, you can heat it gently but be careful, as this can get runny and alter the consistency of the filling.

How to make baklava shortbread bars
1. Chop nuts. I prefer doing this ahead of time, as chopped nuts can last up to 6 months in the freezer. That way, I have plenty to use for baking for a while. I personally like to use a chopper, since using a knife is just too much work!
2. Cream butter and powdered sugar. You don’t need to beat it for a long time, just make sure it’s well-combined and perfectly smooth.
3. Add vanilla and salt. Reduce salt to a pinch if you used salted butter. Be sure it’s very smooth so that the flour can be mixed in minimally.
4. Stir in flour. Technically, you could sift and whisk the salt and flour, but that requires an extra bowl, and I just don’t have the patience for more dishes. So, I add the salt to the butter most of the time.
5. Bake. Press 2/3 of the dough into a parchment lined 8x8 pan and bake until golden.


6. Mix nuts, cinnamon, and vanilla then add honey. Leaving the honey for the end ensures the cinnamon and vanilla are evenly mixed in. Also, since each brand of honey is slightly different, you may need to add a bit more to make this a gooey mixture. It shouldn’t be runny but also shouldn’t be so stiff that it can be scooped like ice cream.
7. Crumble remaining dough on top. This isn’t always easy with this dough, so you may want to freeze the remaining dough while you bake the crust and mix the filling, as this will make things less messy.
8. Bake. Bake until the crumble topping turns golden along the edges. Let cool completely then remove from pan, cut, and drizzle with honey (optional).
Enjoy!


Tips and FAQ’s for this recipe
Do I have to use European butter?
Personally, I think it makes a huge difference. It’s creamier and has a very different consistency than sweet cream butter. Since you only have a few ingredients here, you want to make sure each one is of the highest quality. But don’t worry—you can often find it at places like Costco on sale!
Do NOT over mix!
These will become tough and lose their flaky tenderness if you mix them too much. Be careful to stir just until the dough comes together then stop. If you find any unmixed flour, you can pat that into the rest of the dough when you roll it out.

Spoon then level your flour
Don’t scoop your flour! I never knew this until I started blogging, but it seriously makes a big difference. You will end up with roughly 25% more flour than the recipe called for if you just doonk (official baking term right there) your measuring spoon into the flour container and scoop. Gently spoon your flour into your measuring cup then level it off with the back of a knife. Trust me! It makes a difference.

What if I don’t have powdered sugar?
You can technically make your own, but I can’t vouch for its efficacy in cookies (it works well in buttercream). Simply place 1 cup granulated sugar and 1 tablespoon cornstarch in a blender and mix until fine—the texture of powdered/confectioner’s/icing sugar. You can of course increase the amount, but this will give you more than you need already.

Can I make these ahead of time?
Yes! You can make the dough and refrigerate it (well sealed) for up to three days. If you need to make them further ahead, you can freeze the pre-shaped dough then fill and bake them straight from the freezer. Fully cooked bars can be made 1-2 days ahead, but tightly sealing them actually causes them to become overly moist and lose their flakey crunch, so just cover the pan with foil OR cut and freeze, wrapping individually. They will last 1-2 months in the freezer.

My tools
Here are my must-have tools I use for making these cookies. Affiliate links provided

Baklava Shortbread Bars
- prep time: 10-15 minutes
- bake time: 25-30 minutes
- total time: 45 minutes
servings: 9-16
Ingredients:
for the shortbread
- 2 cups (240g) flour, spooned and leveled then sifted
- ¼ teaspoon (2g) finely ground sea salt (omit if using salted butter)
- 1 cup (227g) unsalted European style butter, softened
- ⅔ cups (87g) powdered sugar
- 1 tablespoon (13g) vanilla extract
for the filling
- ½ cup (65g) chopped roasted walnuts
- ½ cup (75g) chopped roasted almonds
- 1 teaspoon (4g) vanilla extract
- ½ teaspoon (1g) ground cinnamon
- ½ cup (170g) honey (amount may vary)
Instructions:
- If nuts are not already roasted and/or chopped, chop (I like to use a nut chopper for this), chop then roast on a rimmed baking sheet at 350F/175C for 5-10 minutes, stirring after 5 minutes and checking often. Let cool completely before using. Roasted nuts can be made ahead and kept in an airtight container on the counter for up to 2 weeks or frozen for up to 6 months.
- Make the crust. Preheat oven to 350F/175C. Line an 8x8 pan with parchment. (One easy way to do this is to turn the pan upside down and fold the parchment around it, then flip the pan over and place it in with the folds.)
- In a small bowl, whisk together flour and salt. Set aside. (Optionally, you can just add the salt to the butter after the vanilla).
- In a medium bowl (or the bowl of a stand mixer--I couldn't use mine because it does best with larger quantities), whip the butter with a handheld electric mixer on high until creamed, about 30 seconds. Add the powdered sugar and mix on high until light and fluffy, about 1 minute. Add vanilla then mix, starting on low then increasing to high to fully incorporate.
- Scrape the bowl then sift in the flour and mix on low until fully incorporated. It will be crumbly at first then will suddenly start to stick to the beaters and pull away from the sides of the bowl. At this point, stop mixing.
- Press about ⅔ of the dough into the bottom of the pan.
- Bake 10-15 minutes, until it is matte in appearance and just barely begins to turn golden. You can then let it cool before the next step, but that’s not necessary.
- While the crust bakes, mix the chopped and roasted nuts, cinnamon, and vanilla until fully blended. Then add the honey. You may need more honey, depending on your brand. The filling should be somewhat gooey but not runny. Pour the filling over the crust and spread evenly.
- Crumble the remaining dough on top. Don’t worry if there are some gaps with filling showing through.
- Bake about 10-12 minutes more, until the crumbles are matte and the edges begin to turn golden. Let cool completely in the pan.
Enjoy! Bars will last loosely covered for 3-5 days. An airtight container will actually cause them to soften after a day, so I prefer just using foil.
